It’s the most beautiful time of the year! It’s Fall!!! I just wish it would feel like Fall…except it hasn’t felt like Fall at all. It’s been in the mid nineties the last couple of days here in sunny California and the warm weather does not do me any good. I long for the crisp Fall air! Once upon a time, I lived in Minnesota and even though I love California, I just want to experience all four seasons. So I thought that if maybe I started decorating our apartment in Fall decor, that maybe..just maybe..the crisp Fall air will knock on my door.
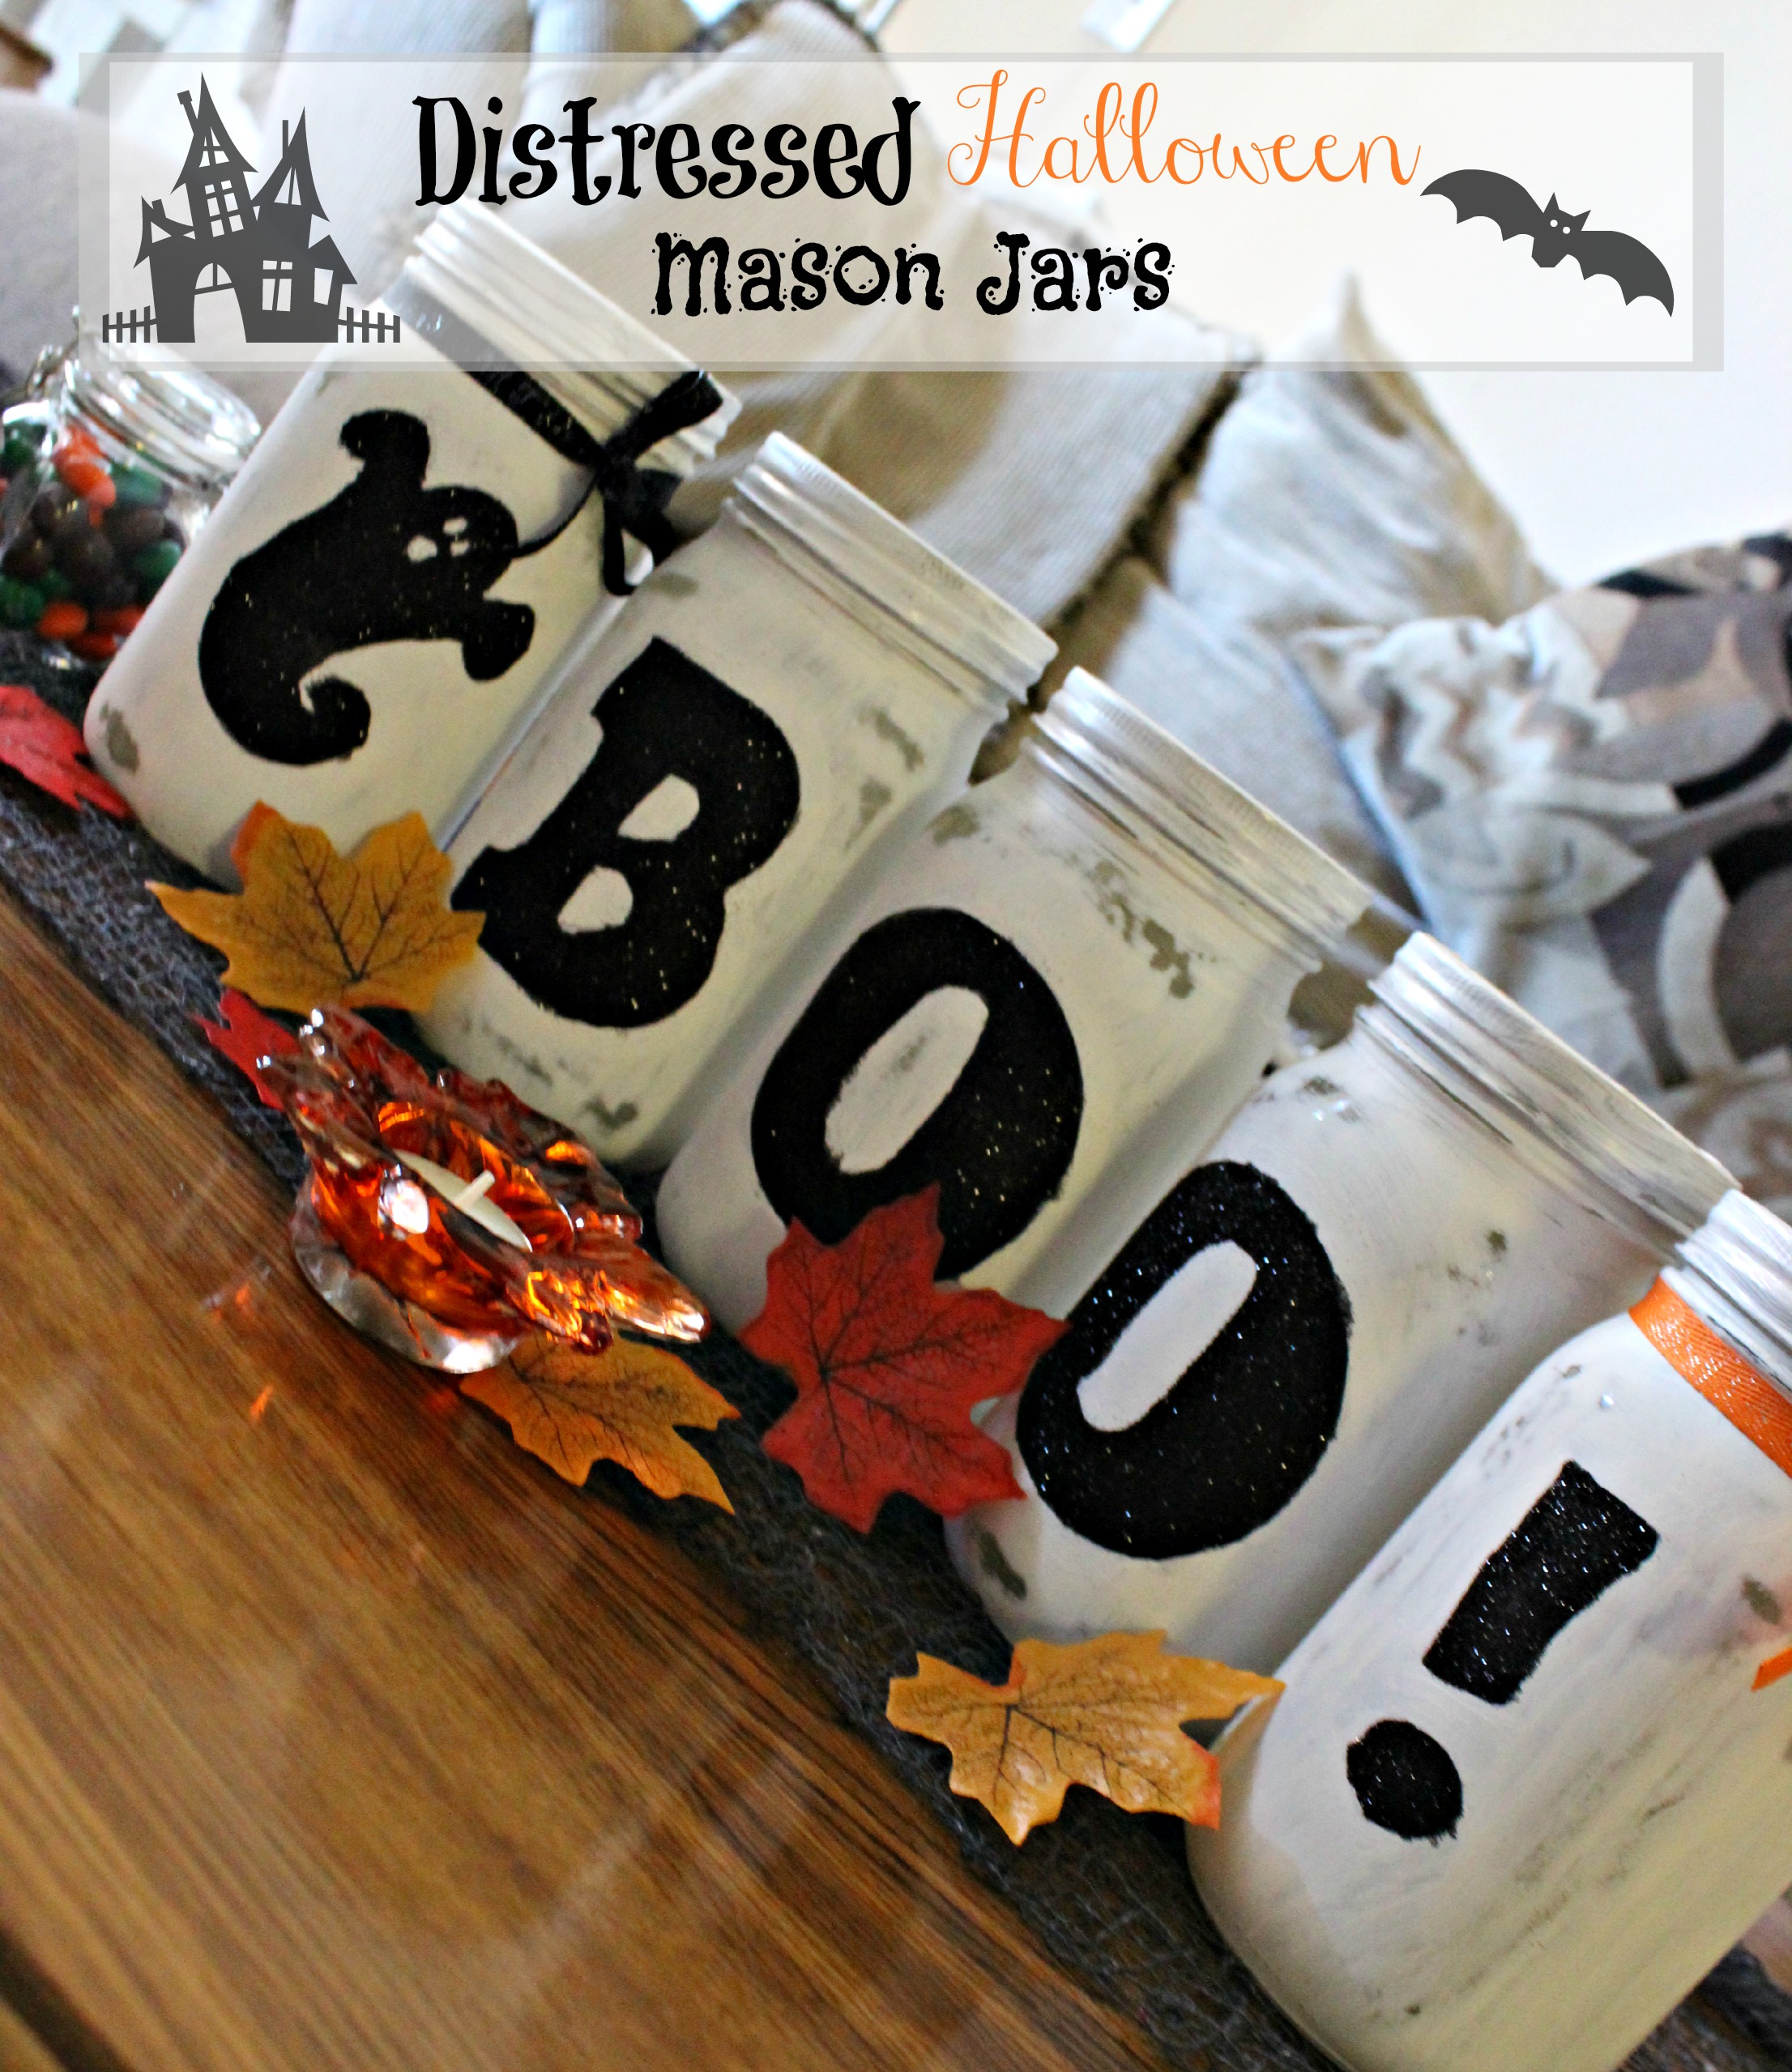
I have been wanting to make some distressed mason jars for awhile now and I wanted tie it into Halloween, somehow. And this is what I came up with!
The things you will need:
- Mason jars
- White and black Martha Stewart Satin Paint
- Foam brushes
- Extra Fine Glitter
- Mod Podge
- Sand paper ( I used 220 grade)
- small paint brush (to paint the letters)
- Ribbon (if you want to add a little pizzazz to your work)
I started out by printing the letters on regular paper and cutting them out with my handy dandy X acto knife.
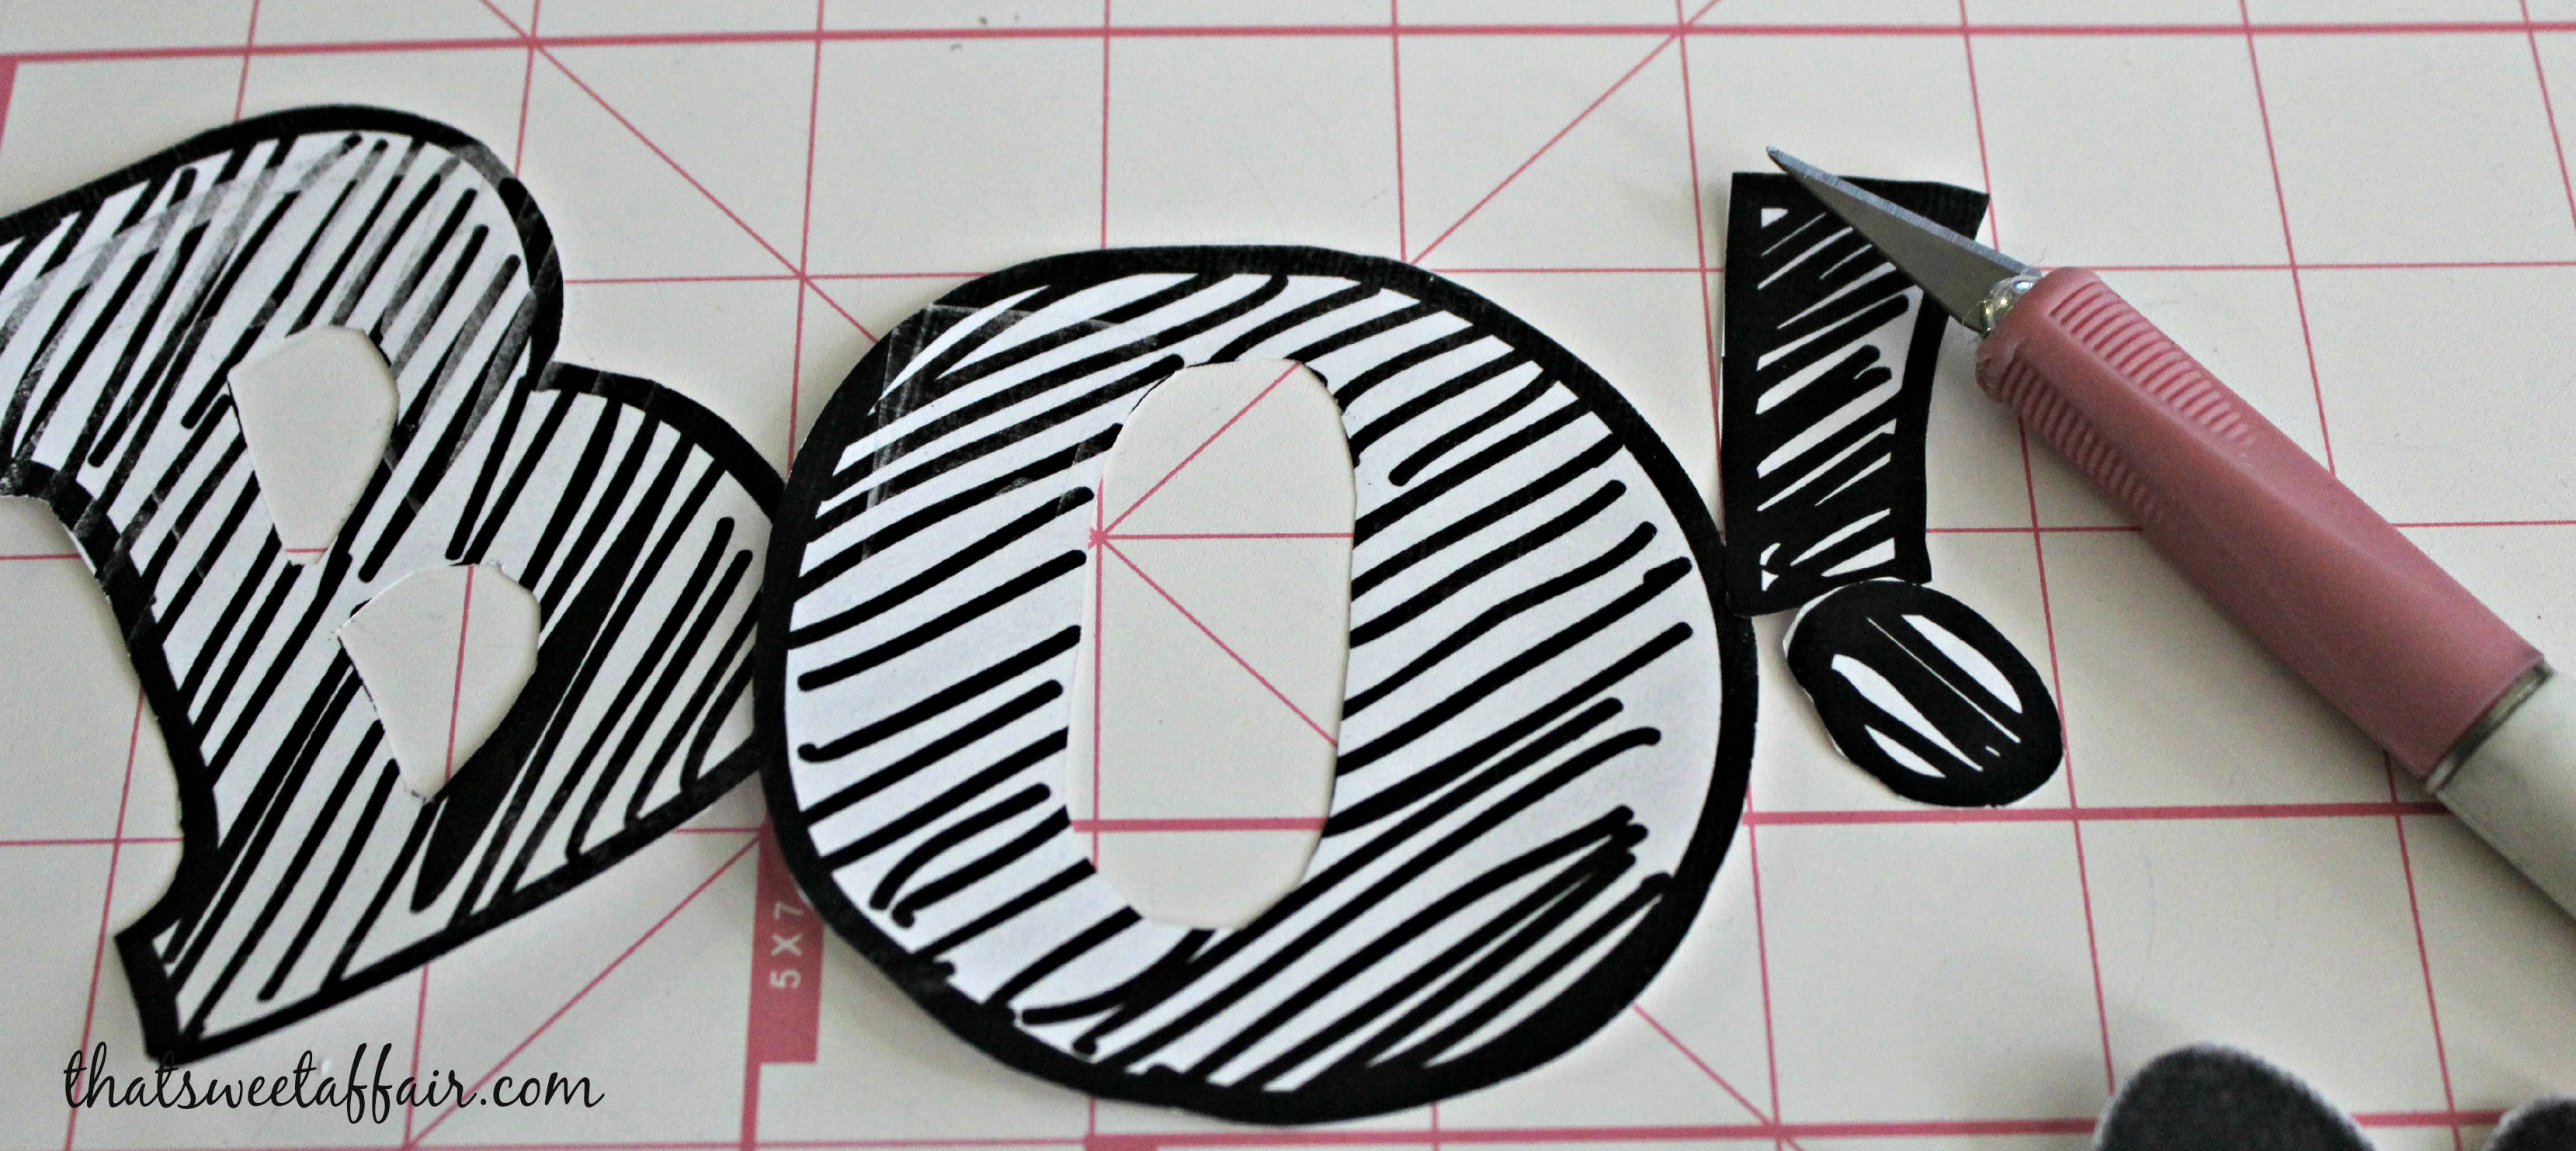
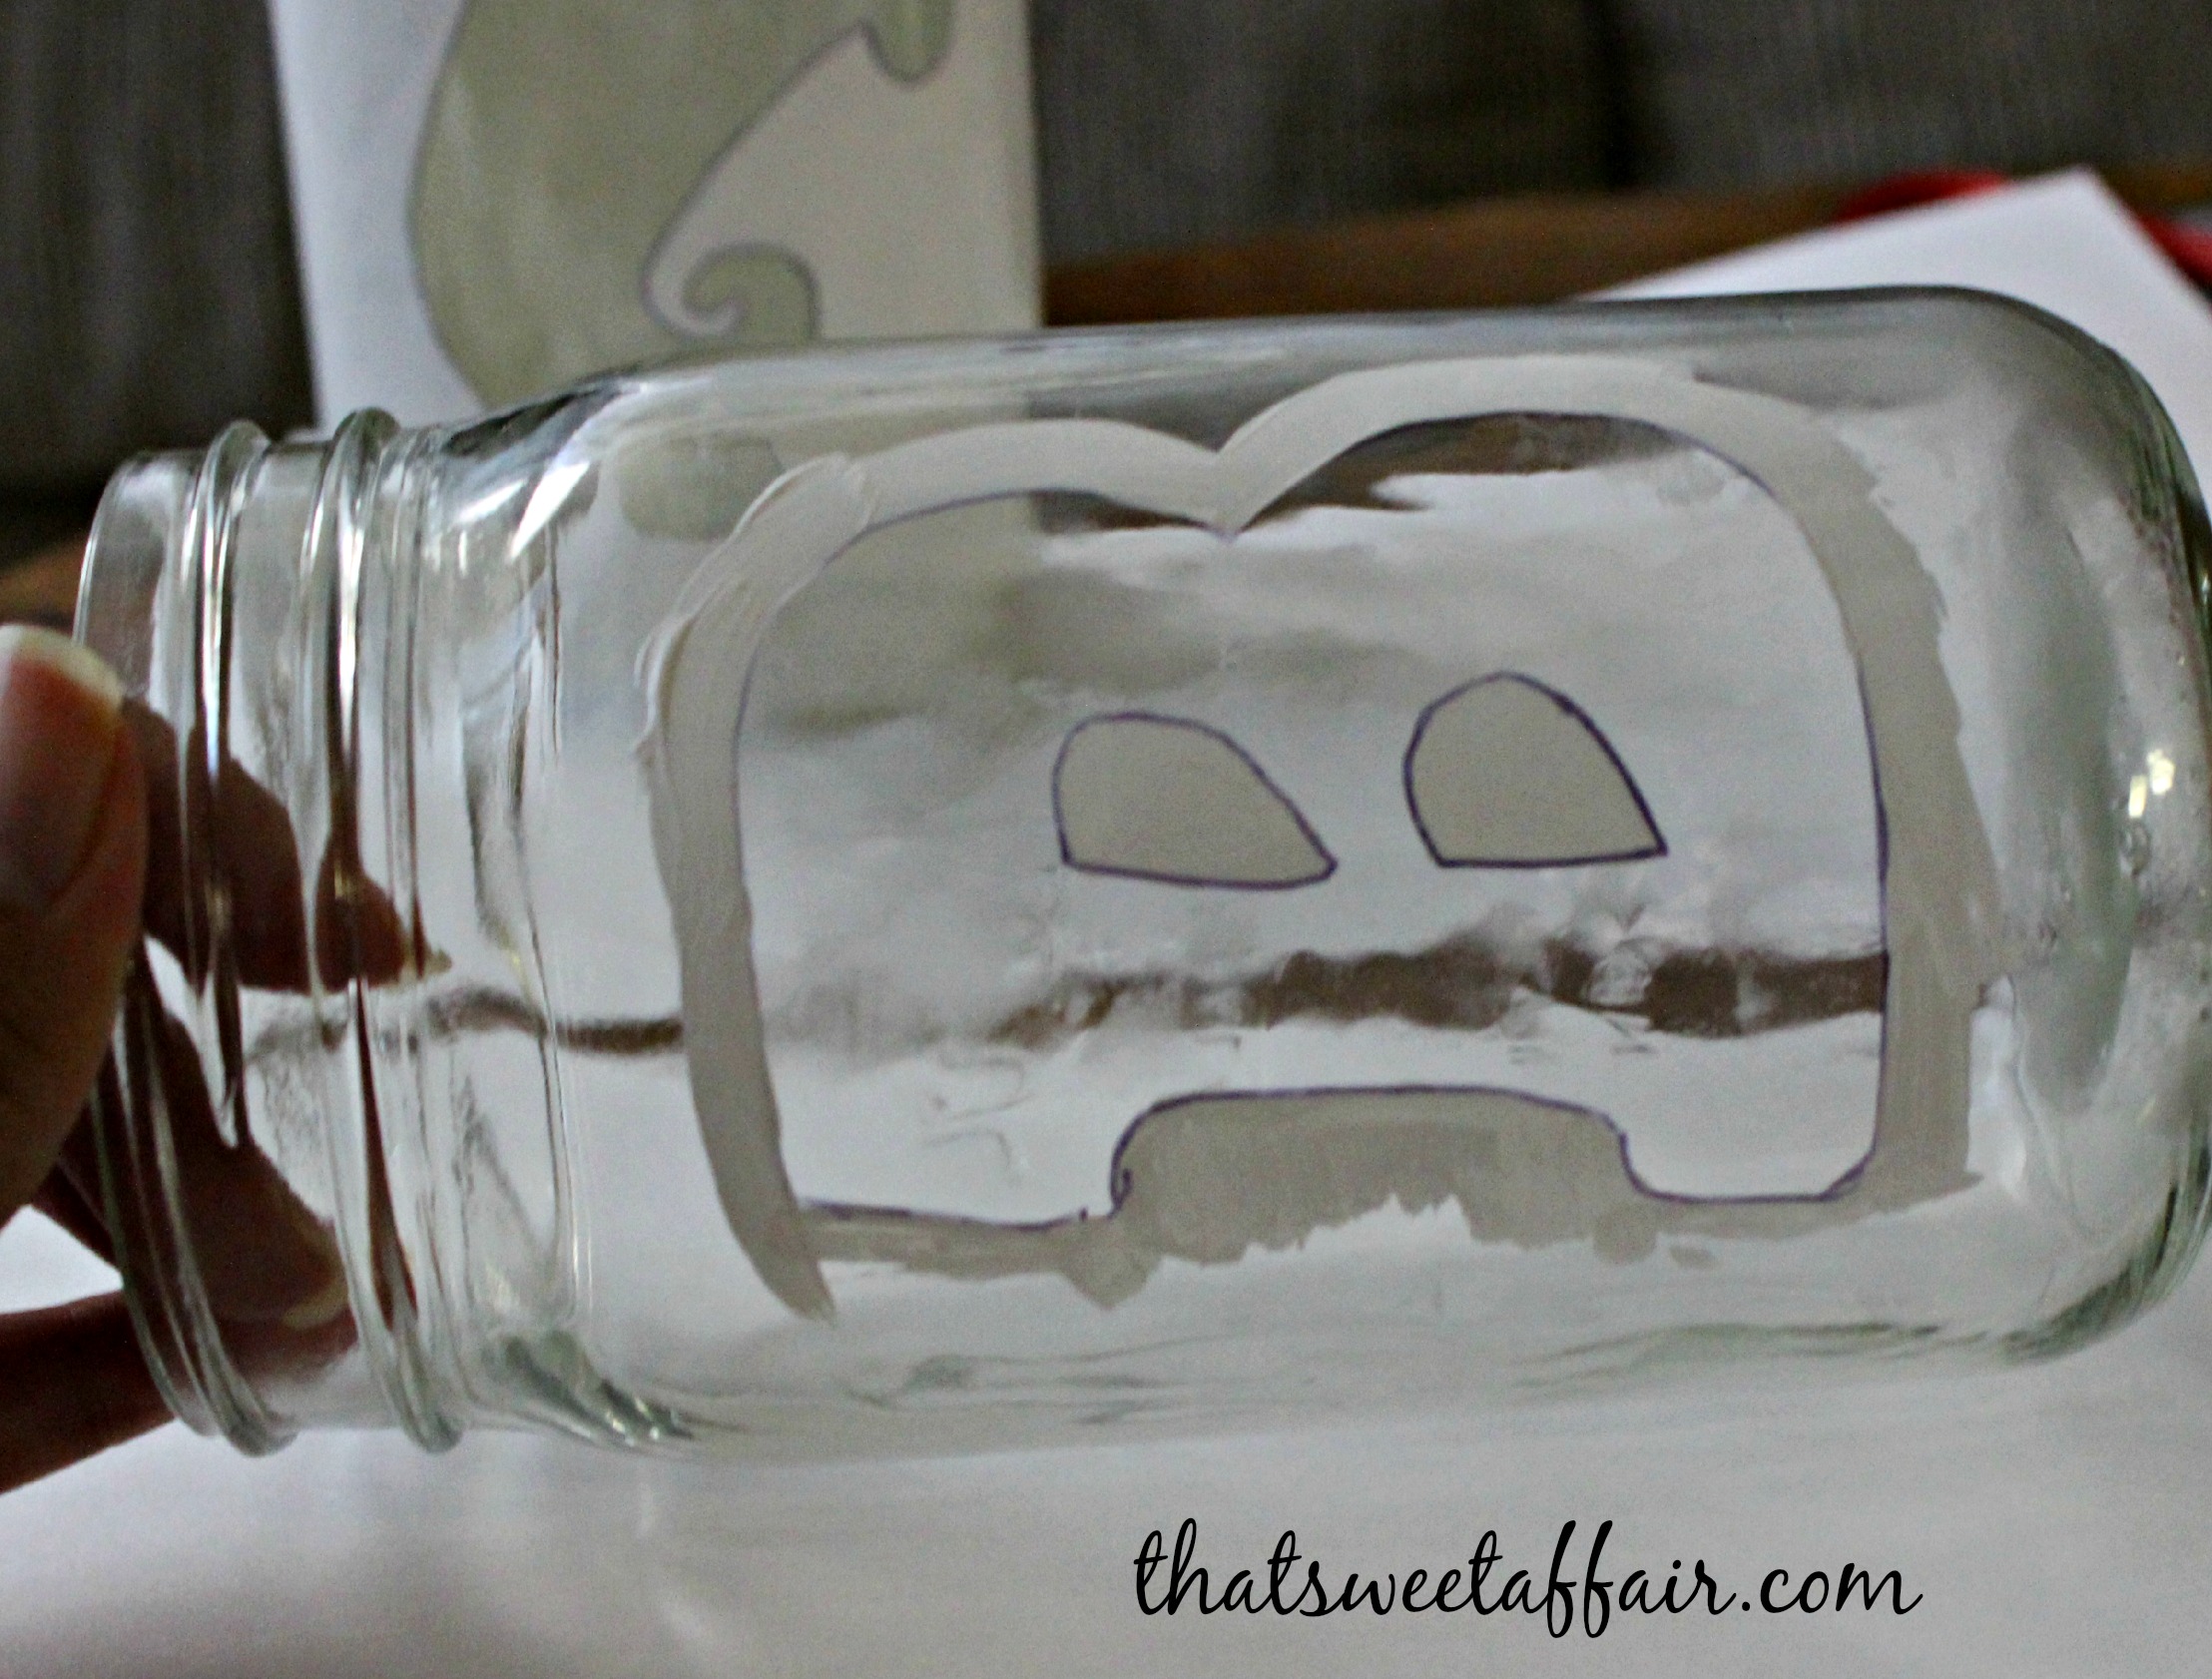
I then traced them onto card stock and then cut them out of the cardstock and traced them onto the mason jars with a Sharpie pen.
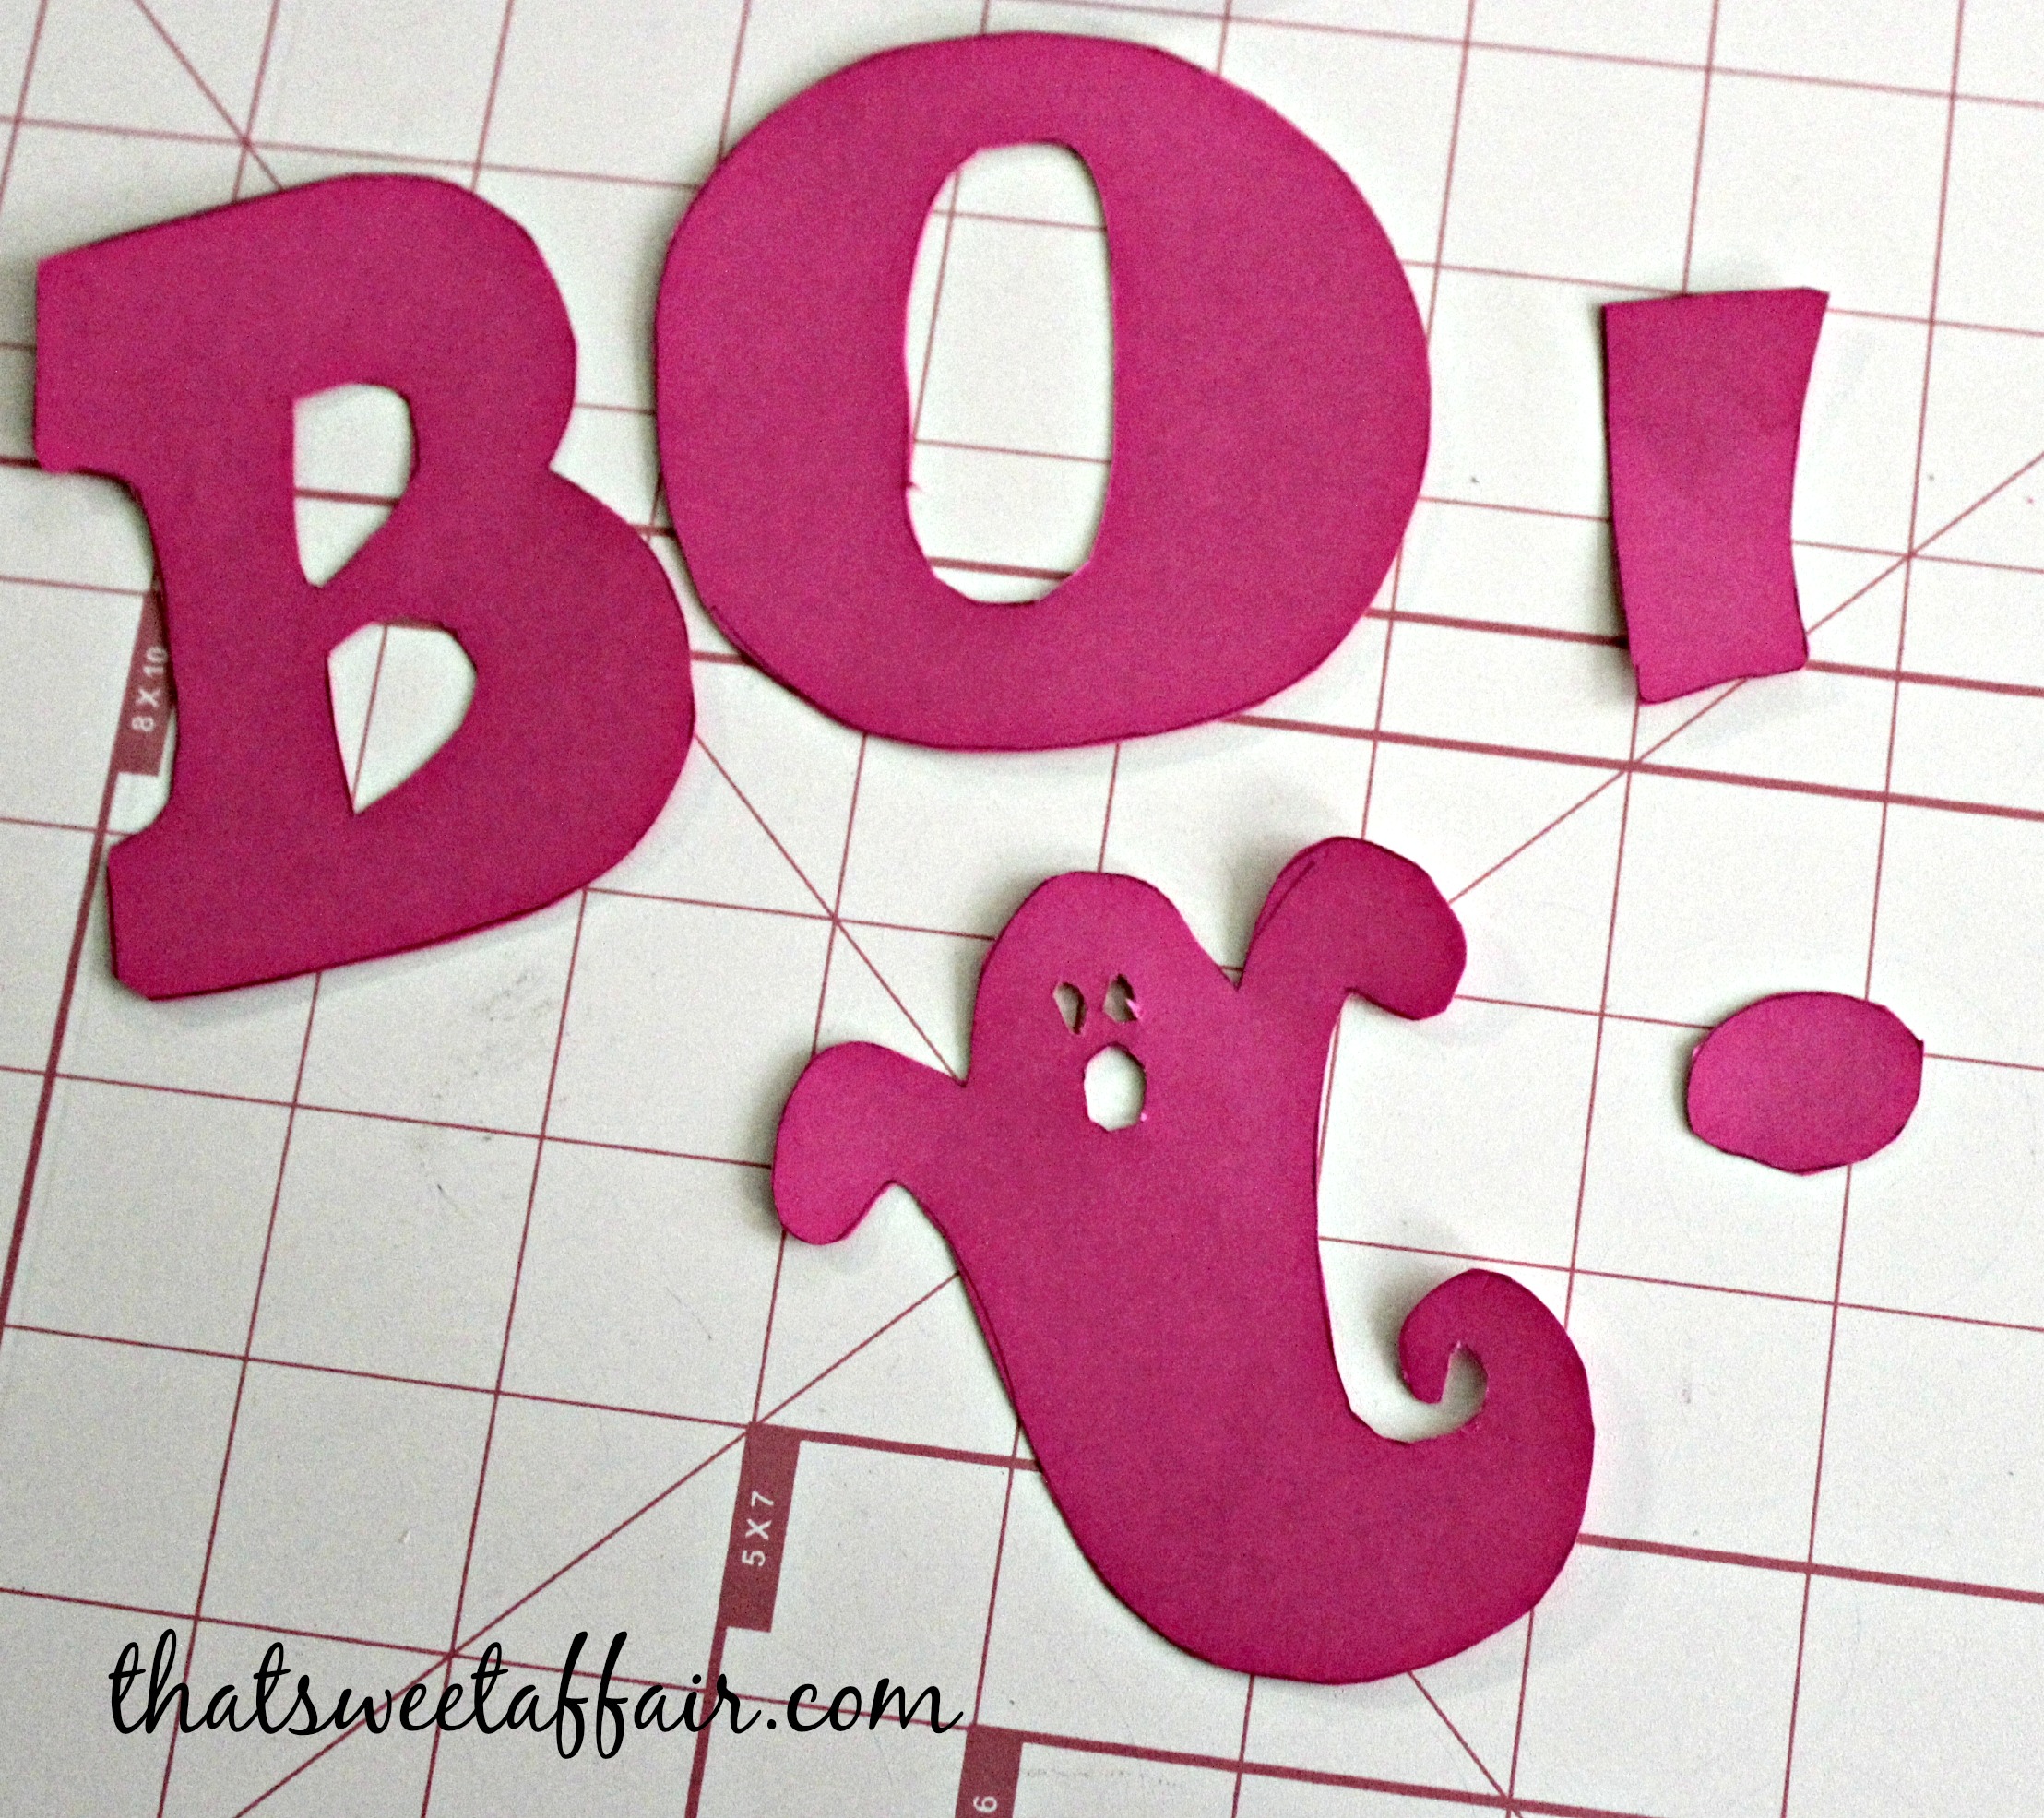

Now that I am writing this post, I just thought “why didn’t I print the letters on the cardstock in the first place?”. Because I like to create more work for myself, that’s why! I wish I was fancy and had a nice little machine like a Silhouette Cameo to help me out but I had to go back to the days when such things did not exist because it doesn’t in my house ;).
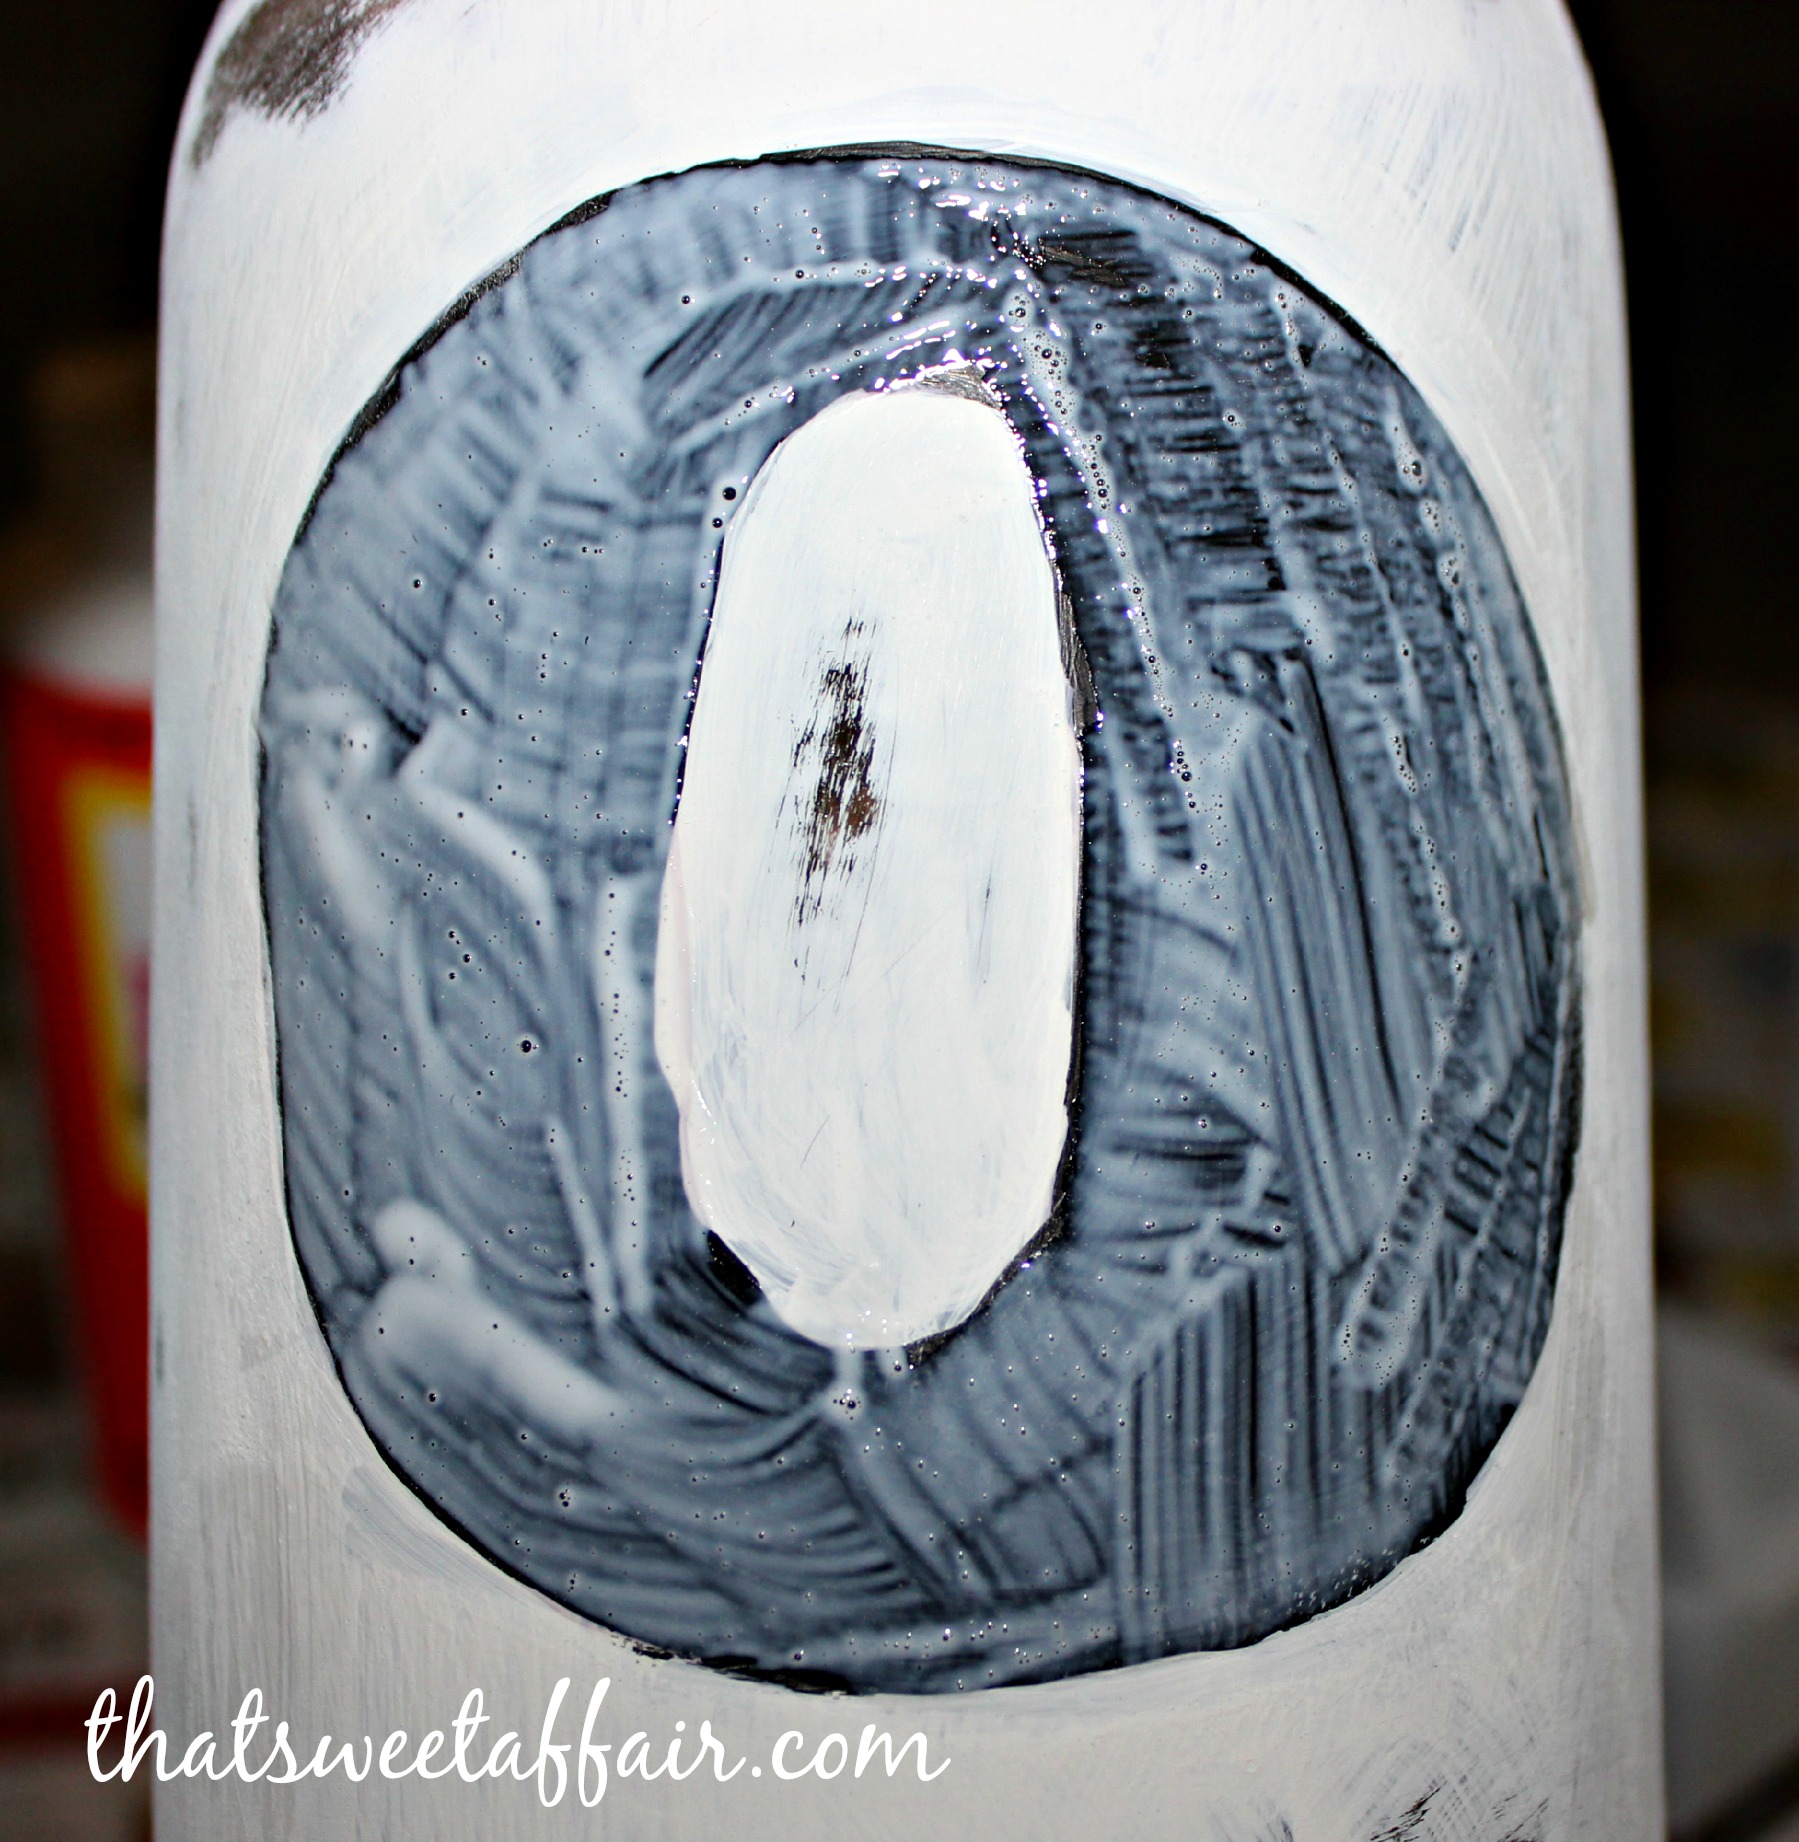
After I did all that, I painted the mason jars with the white paint avoiding the letters and ghost.

I then painted the letters and the ghost with the black paint. After an hour or so of letting the first coat dry, I started on the second coat of white paint. I did not do a second coat of the black paint because I will be putting glitter over it. Once the second coat dried (after another hour), I then cured the paint. I place the jars on a cookie sheet and turned on the oven to 350 degrees. Once it reached 350 degrees, I let it cure in the oven for 30 minutes. After the 30 minutes, turn off the oven and let it sit in the oven until it completely cools.
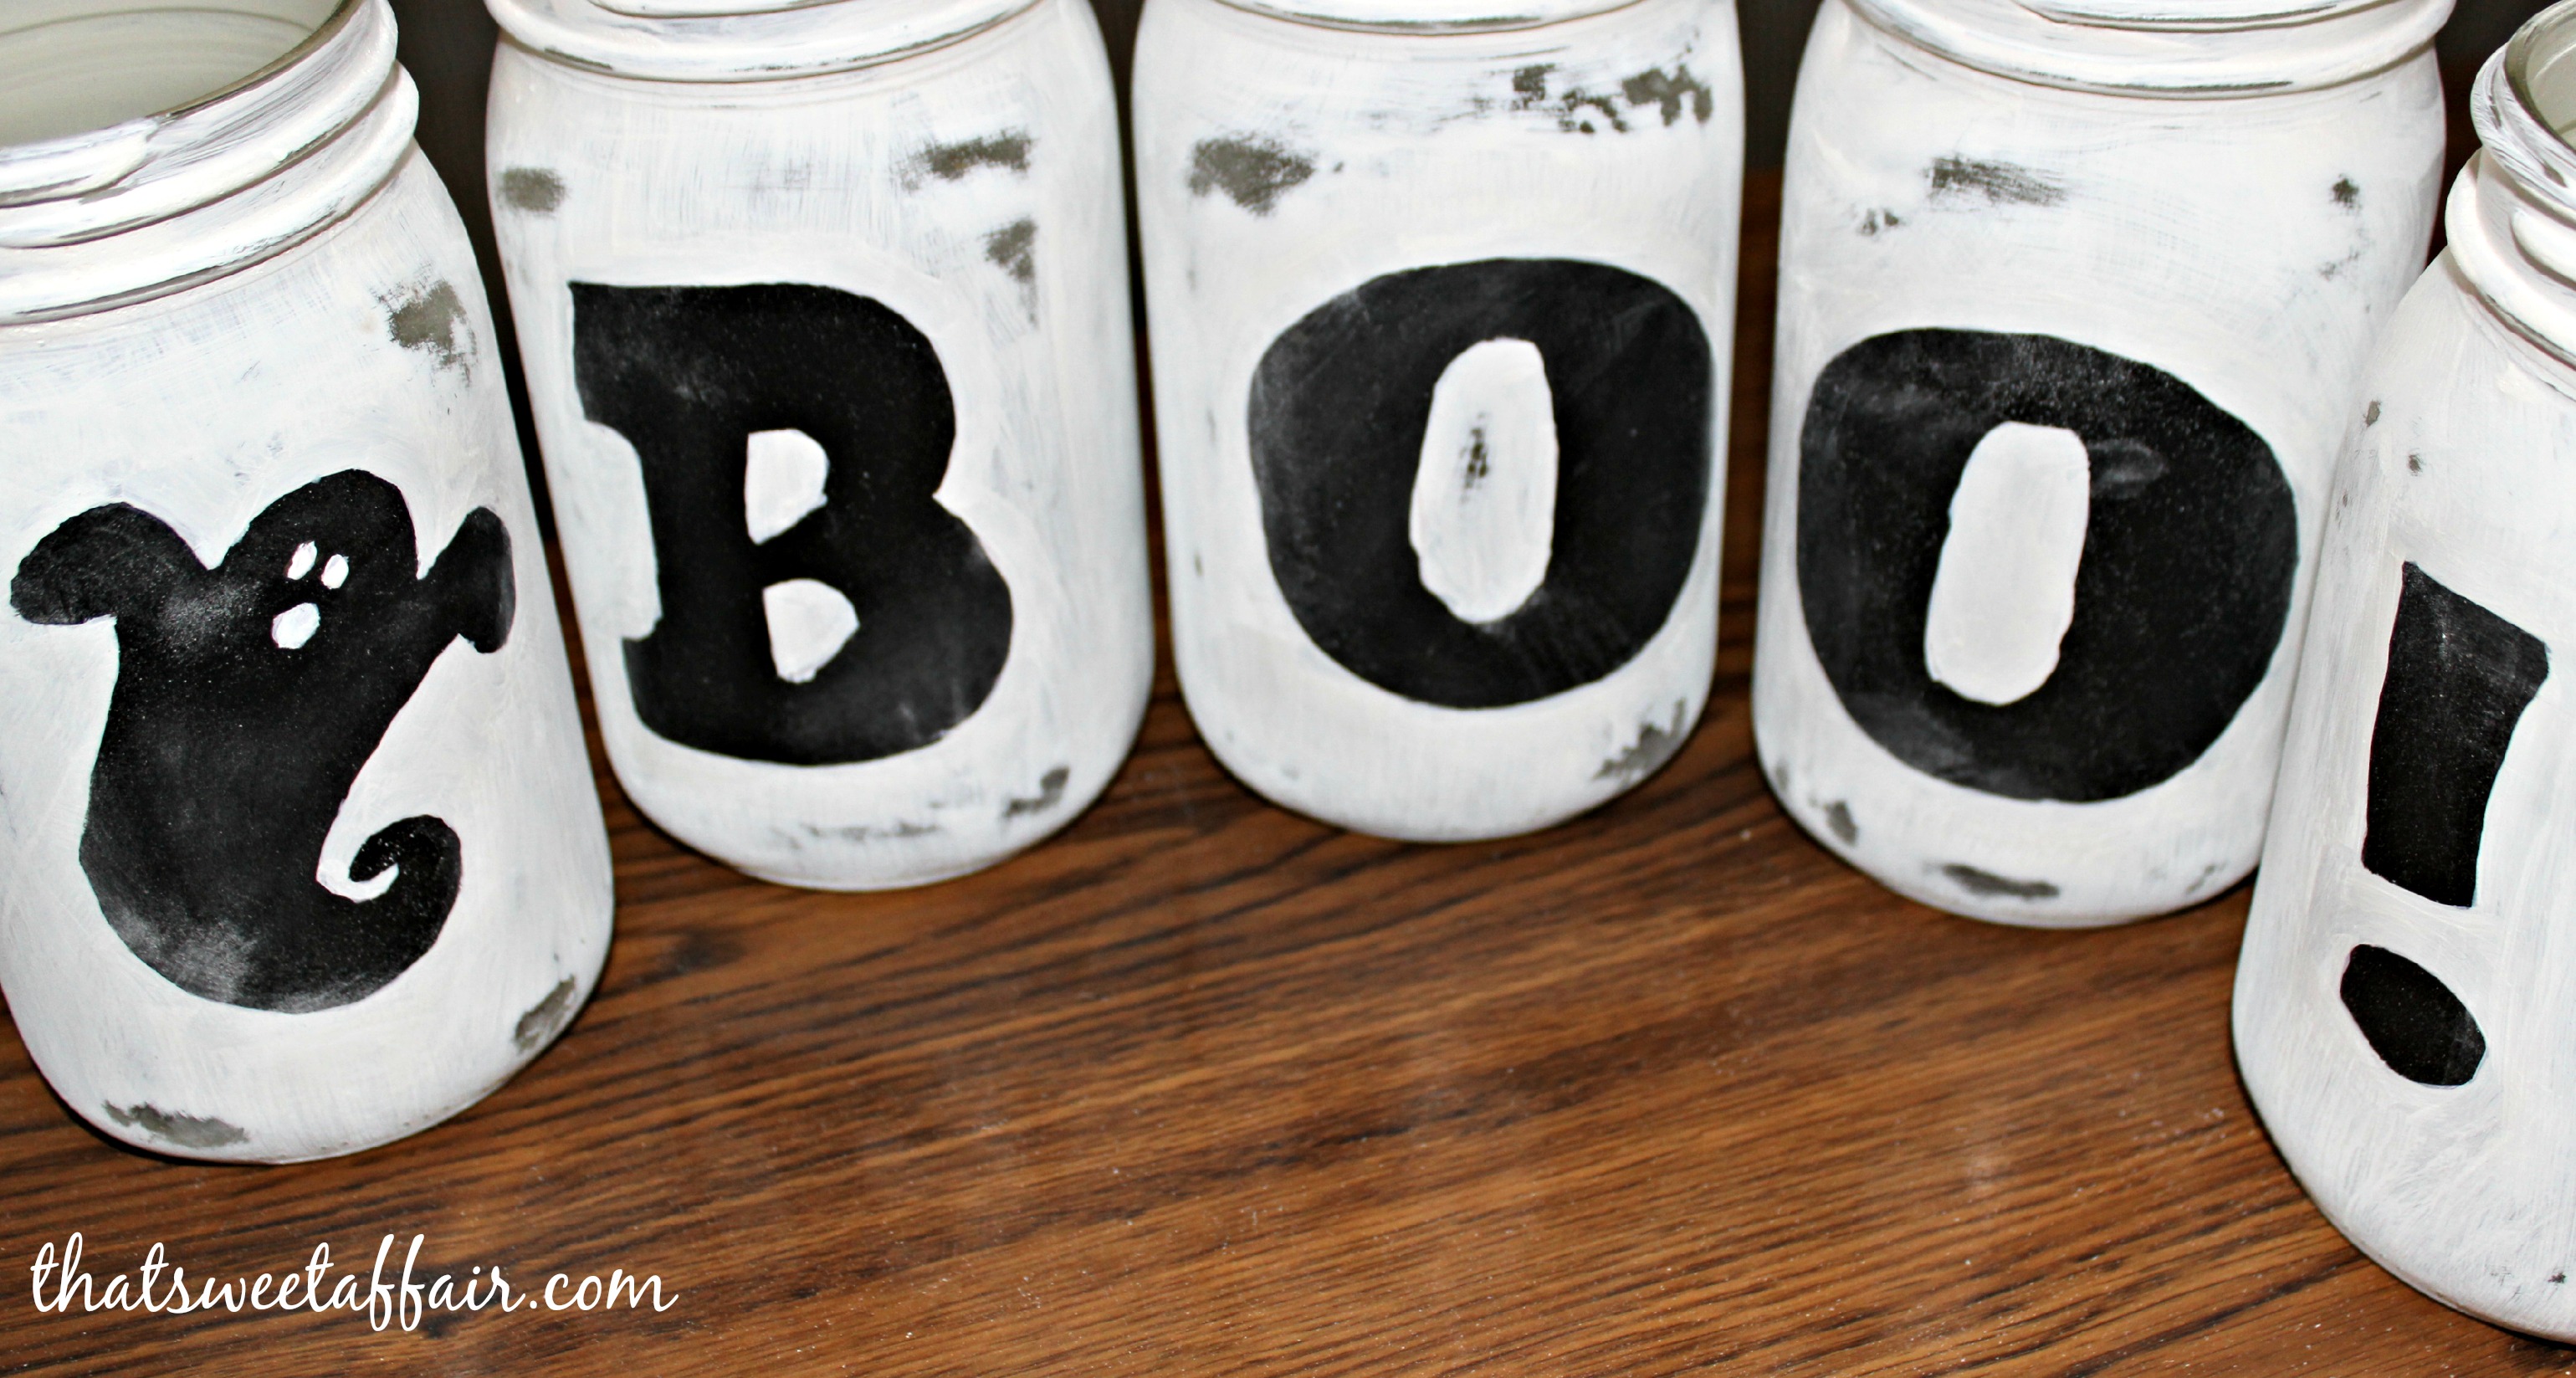
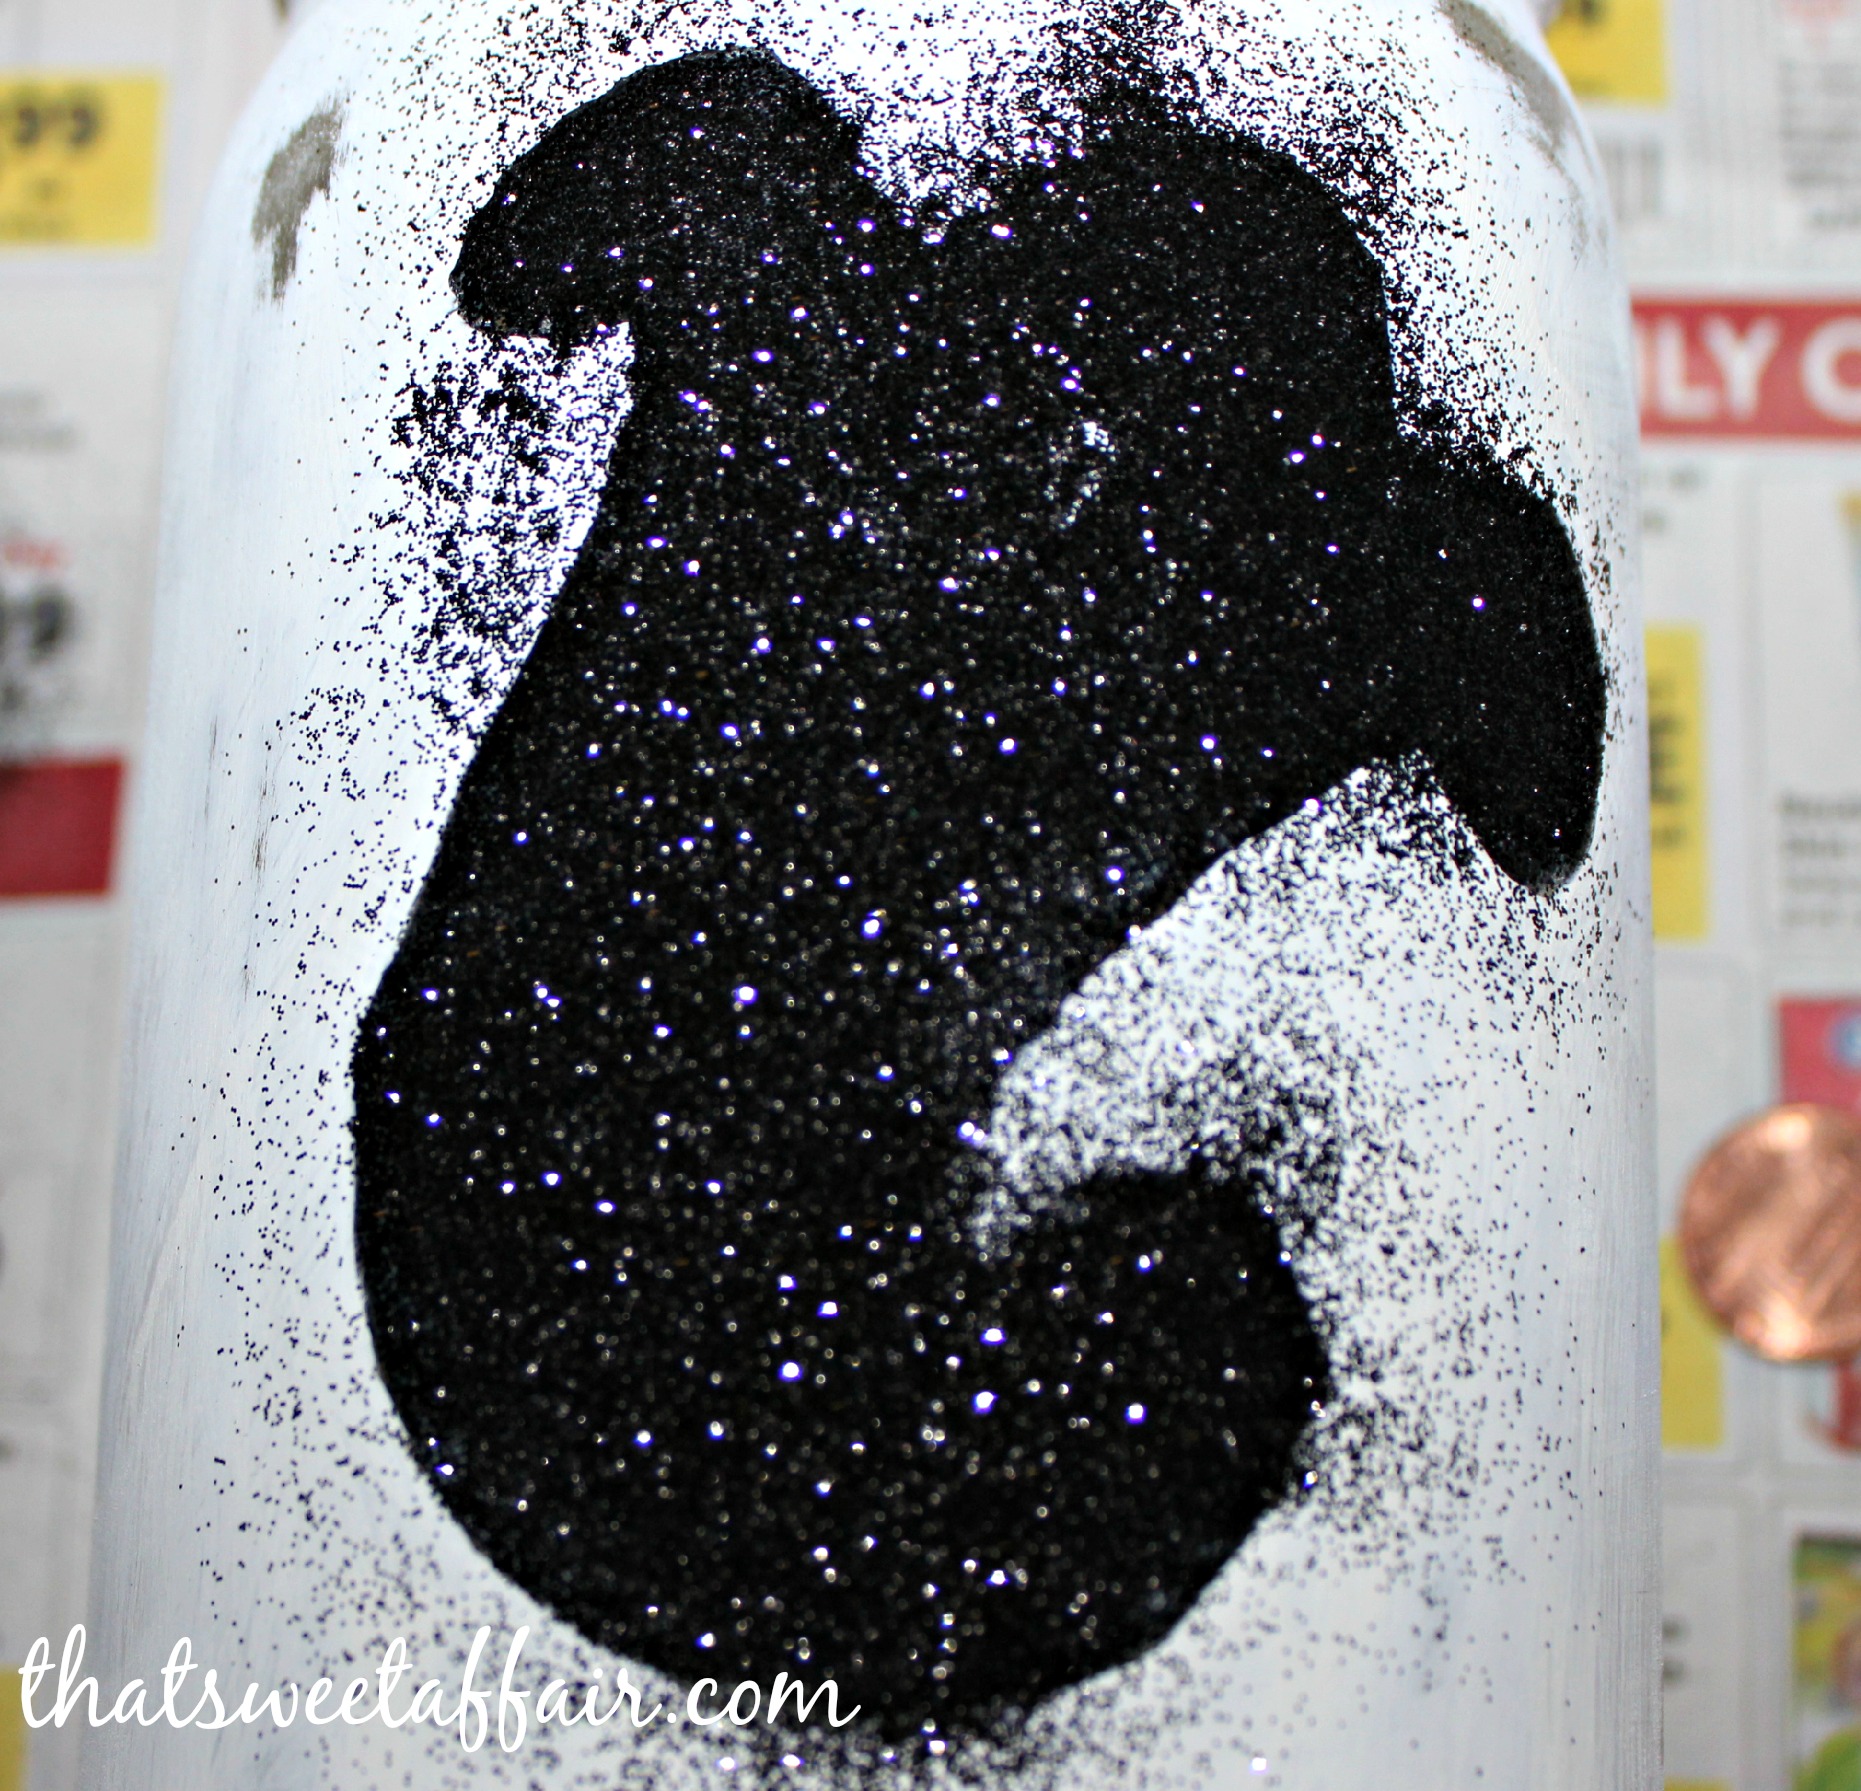
To create the distressed look, sand the corners and anywhere where it would look worn down naturally over time. To add the glitter, use a foam brush to apply the mod podge and then sprinkle on the glitter! Voila! Let it dry and you are done. I really hope you enjoy this and let me know what you created!

I let it dry for an hour or so and then painted the second coat. I then let it dry for another hour. I hope you enjoy making this as much as I did. Be creative and let me know you came up with too!